
Want those wide, wing-like lats that stretch your shirt and command attention? Then stop half-repping and start mastering the king of unilateral back-builders — the Single-Arm Dumbbell Row. We’re breaking it ALL down — form, technique, mistakes, and the secrets to deep lat activation. Let’s row to grow, baby!
1: Why Single-Arm Rows Are Elite for Lat Growth
The single-arm dumbbell row hits the lats, traps, rhomboids, and even the core.
Unlike machines or barbell rows, it allows a greater range of motion.
Perfect for fixing imbalances – each side works independently.
Builds thickness and width — especially in that underarm lat shelf.
Bonus: Targets the lower lat fibers most people never fully hit.
💡 “If you want your back to pop in every pose, single-arm rows are your secret weapon.”
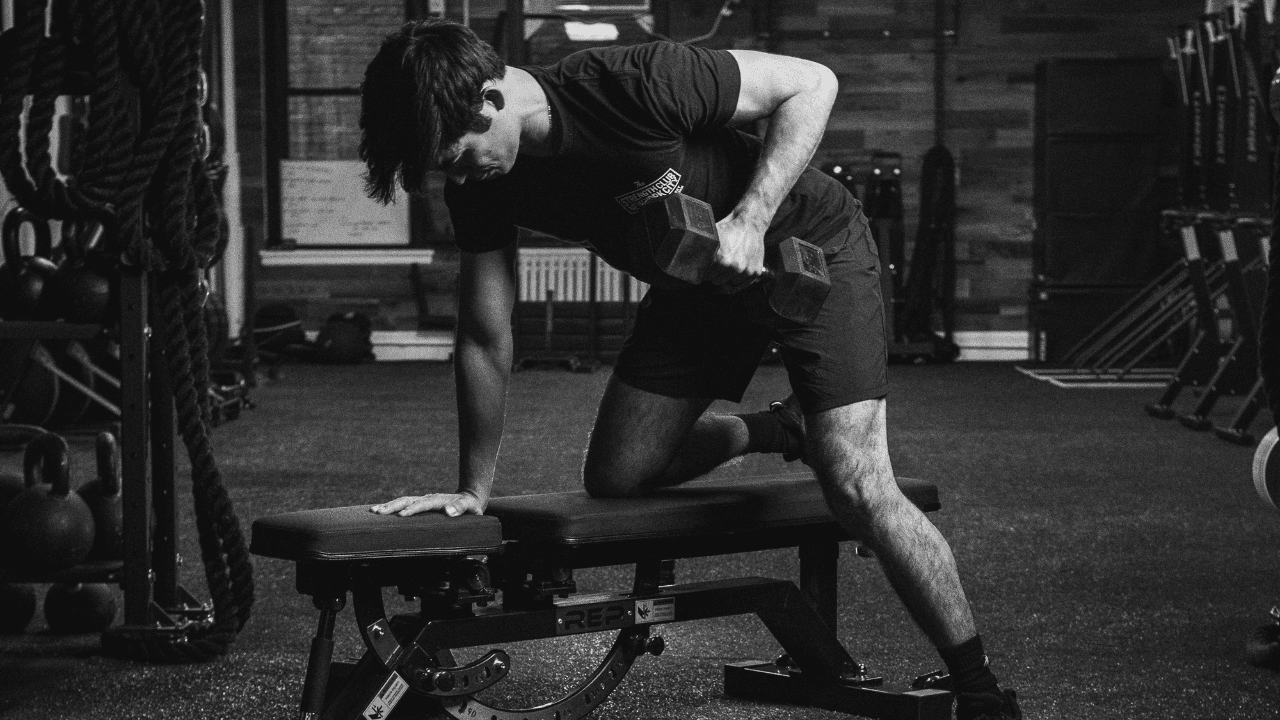
2: How to Set Up for Success (Starting Position)
Use a flat bench or a sturdy platform.
One knee and same-side hand on the bench. The working foot should be slightly behind for balance.
Dumbbell should hang directly under your shoulder — arm fully extended.
Spine neutral. Core braced. Chest proud.
Neck in line with spine — no chicken-head movements!
3: The Mind-Muscle Connection
Don’t just yank — row with intent.
Visualize your lat shortening as you pull the dumbbell toward your hip.
Cue: “Drive your elbow back like you’re elbowing someone behind you.”
Squeeze your lat at the top — hold for 1-2 seconds.
Feel the stretch at the bottom — don’t bounce.
🔥 Tip: Close your eyes for one set and just feel the contraction.
4: Top 5 Mistakes That Kill Gains
Using momentum and rotating the torso.
Shrugging — turning it into a trap exercise.
Pulling too high (towards chest) instead of hip.
Not fully extending at the bottom.
Speed rowing without control.
📉 These mistakes turn your row into a shoulder shrug and cost you serious lat gains.
5: How to Fix Your Form Instantly
Use a mirror or film yourself — real feedback > feel.
Drop the weight to nail the movement pattern first.
Try the “3-2-1 tempo”: 3 seconds down, 2 seconds stretch, 1 second pull.
Use cues like “pull from the elbow” and “lock your hips.”
Place a foam roller on your lower back — if it rolls off, you’re rotating too much.
6: Advanced Techniques for Next-Level Gains
Pause Reps: Hold at the top for 3 seconds.
Drop Sets: Do heavy 6-8 reps, drop the weight and rep till failure.
1.5 Reps: Halfway up > full row > down = 1 rep.
Stretch Sets: Hang at the bottom for 3 seconds to improve range.
💪 Pro Tip: Use lifting straps to go heavier without losing grip.
7: Anatomy of the Lats & Targeting Zones
Lats originate from your spine and insert into your upper arm.
Rows target mid to lower lats best.
To bias lower lats: pull closer to the hip and stay tight.
To bias upper back: pull higher with a wider elbow flare.
Rotate grip to tweak emphasis (neutral vs supinated).
📚 Know the muscles, grow the muscles.
8: Programming Rows into Your Workout Plan
3–4 sets per arm.
Rep ranges:
6–8 for strength and size
10–15 for hypertrophy and endurance
Train them 1–2x per week.
Superset with pullovers or rear delt raises.
Do them early in your workout when you’re freshest — don’t leave gains on the bench.
9: Variations to Keep Things Fresh
Kroc Rows – heavy, high-rep rows for massive size.
Incline Bench Rows – eliminates torso swing.
Renegade Rows – core + lat combo.
Landmine Rows (One Arm) – super lat tension with angle control.
🎯 Keep it spicy. Keep it progressing.
10: Equipment, Accessories & Pro Hacks
Use lifting straps or Versa grips when grip fails before lats do.
Go for hex dumbbells to prevent rolling.
Chalk helps for grip during heavy sets.
Use a weight belt only when you’re hitting true heavy sets with perfect form.
🎒 Optional gear: elbow sleeves for joint support, and wrist wraps if needed.
Rows aren’t just rows — they’re an art. When done right, they sculpt a back that looks like armor. The single-arm dumbbell row is your lat-sculpting brush. So slow it down, lock it in, and watch your physique transform